Thursday, March 8, 2012

How to Save Money in the Bathroom


No, I am not talking about extreme measures here, just some quick, easy tips to save you money.
1.       DIY face mask that really works made from plain old aspirin. Do follow the directions carefully:
2.      Use cheap shampoo.  It really does clean as well as expensive stuff.  If you have dry, thin or damaged hair use a shampoo that contains a mild cleanser like sodium laureth sulfate.  If you have oily hair use a shampoo that has a stronger cleanser one like ammonium lauryl sulfate.  That is all you need.
3.      Use shampoo as body cleanser.  Yep, since shampoos are pH adjusted for your hair, they work well on your body too.
4.      Use a scrubbie.  Just a dab of liquid body soap will clean your whole body when you use a scrubbie.
5.      Dollar store denture tablets work great as toilet bowl cleaner.  An added benefit…no scrubbing.
6.      If you sew:
a.      Cut up old towels, zig-zag around the edges and make washcloths.
b.      When buying new towels, don’t buy hand towels or wash cloths.  Just buy one or two extra bath towels, cut them up and finish the edges.  You will spend half or less of what hand towels or wash cloths cost.
7.      Before putting up a new shower curtain liner, reinforce the holes.  I do this with a strip of packing tape across the top edge.
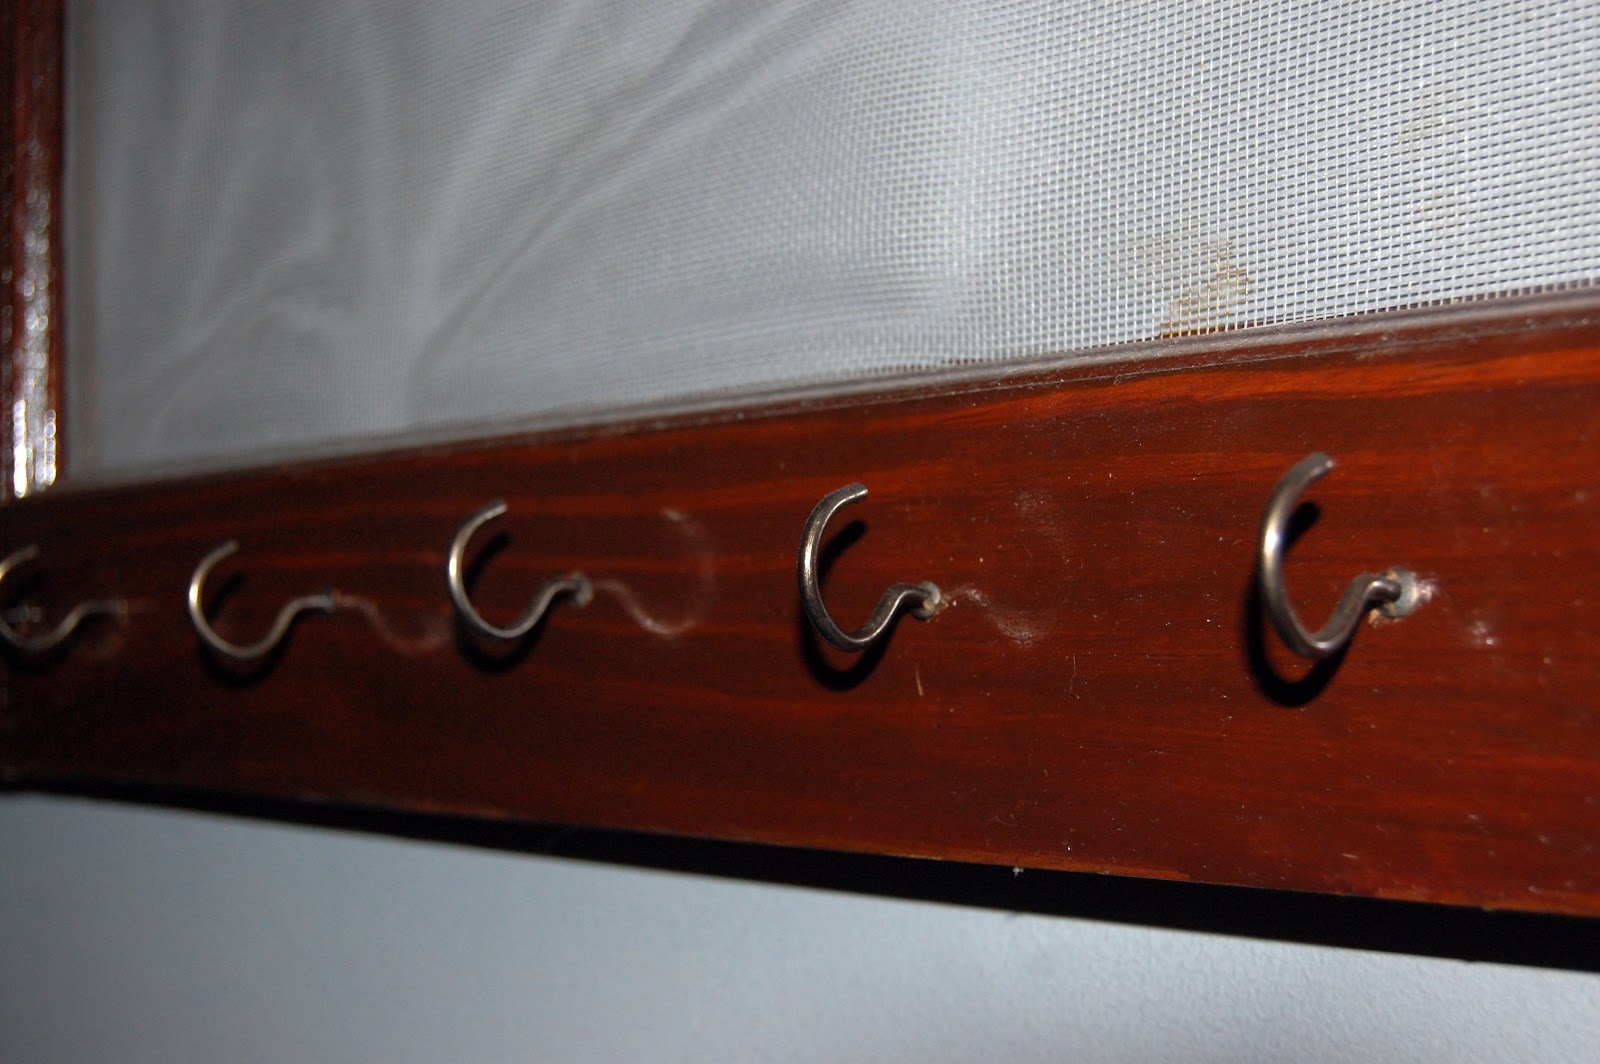
8.      Let towels dry completely.  Make sure your towel racks are wide enough for your towels, and don’t use hooks.  The towels will stay fresh longer.  Less laundry is always a plus.
9.      Let damp clothing or towels dry before putting them in the laundry.  This keeps mold or mildew from forming on the rest of your laundry.
10.   Make your own scrubs:
a.      Sugar:  ½ cup sugar, 2 tablespoons “pure” oil, a few drops of scent and a few drops of food coloring if desired.  Pure oils are one-ingredient oils such as olive oil, almond oil or grapeseed oil.  These should be stored in the refrigerator because they can go bad. 
b.      Salt:  ½ cup sea or coarse salt, 2 tablespoons “pure” oil, a few drops of scent and a few drops of food coloring if desired.
The sugar scrub is good for the more sensitive parts of your body.  Since sugar contains a natural acid, it is good for exfoliating your face, hands or chest area.
The salt scrub is for the other parts of the body, and is especially good for the feet and elbows. 
These are also great gifts, just package, label and give.  


Sunday, March 4, 2012

A New Spice Shelf


I love to cook, my husband loves to cook, my daughter loves to cook.  We make most of our meals at home and trade off the cooking duties.  I also have a lot of spices.  I buy them at the Farmer's Market because they are so much cheaper.  They come in large containers, too much to fit in a normal spice jar.  This is one of the containers that held chives:


 I was lucky enough to find some glass jars at a local thrift store:
 I was able to purchase 2 cases for $3.00 per case.  That gave me 24 nice glass jars.  My clever husband measured the space where I wanted to put them, measured the jars and made me this shelf:
 As you can see, I have hand-printed the temporary labels for the jars.  We would like to eventually etch the jars.  I love my new shelves and it really frees up counter space.  The spices are easier to find and they look great in the kitchen.
Thanks for looking.

Saturday, February 25, 2012

String Art Earrings with Photo Tutorial

I saw some beautiful earrings the other day and was inspired to try to make my own version.  Here are the materials you need:

Wire hoops
Small beads in the color(s) of your choice
Embroidery floss in the color(s) of your choice
Fish hook earring wires
Round nose pliers
Glue that dries clear

First, place the beads on the wire hoops until it is almost full.  Leave enough room to close the hoop.
Close the hoop.

Next, tie on 1-3 strands of embroidery floss.  One strand will give you a light, airy look and three strands will give you more fill.  Use 1 or 2 strands if you are going to add another color.
To make a closed circle, wrap the floss in the following pattern:
You should choose a bead that is directly across (or almost directly across) from your beginning point for your #2 wrap.  When you come to the top of the circle, you will move one bead to the right, and at the bottom, you will move one bead to the left.  Treat the closed loops at the top as if it were a bead.  Continue wrapping until you finish where you started:


Tie off and add a drop of glue to the knots.  When the glue is dry, add the earring wire and enjoy.

To make an open circle or tear drop shape the loop is started the same way.  The difference is, you choose your #2 wrap to be on the side of the loop instead of across from the starting point:
Continue wrapping until you first touch the hoop closure. This will give you a tear drop shape:
If you want an open circle, continue wrapping until you reach your #2 bead again.  Bring it back to the closure and tie off.
Finish in the same manner.  Different colors of embroidery floss can be held together as in the tear drop blue earrings, or they can be layered as in the black and white earrings.  Hope you enjoy!

Saturday, February 18, 2012

Make a Top a “Little” Bigger


I recently purchased this top at a thrift store:
I saw it and loved it.  The store had two, in different sizes.  I tried on the smaller one and it was just a little too small.  So, I bought the other one.  I got it home and found out it was the same size as the one I tried on.  I was really disappointed.  Then I started looking at it and got an idea.  I could make it just a little bigger by adding a panel in back.  Here is how I did it:
Materials:
One top that is slightly too small
One piece of matching or contrasting fabric
10 metal eyelets
1 length of thin elastic
Sewing machine
Matching thread
Eyelet setter
First I removed the elastic from the sleeves, only because I don’t like elastic around my arms.
Then I removed the stitching from the center back.
I cut a panel of fabric 10 inches wide by the length of the top with seam allowances. First I sewed the panel in, right sides together:

Grey represents wrong side, white is right side.
I did this on both sides.

I then sewed another seam with the fabric wrong sides together.  This seam allowance was slightly wider than my eyelets.
I then placed a line of eyelets, five on each side, evenly spaced down the back of the top:
I laced a ribbon through the eyelets:
I didn’t like the way the ribbon looked.  It was hard to adjust and started to fray.  It also tended to untie.
I replaced it with a thin length of elastic.  The top is much more comfortable.  I can pull it on and off without untying it. 
As you can see, I did not put the eyelets all the way down.  I like the way it flares at the bottom.
I think this would also be cute with a different colored top, maybe with a contrasting piece of fabric and multi-colored eyelets.

Yet Another Window Jewelry Holder

Before
After

Screen Window Jewelry Holder
This is one of two jewelry holders my husband, daughter and I made.  We got the windows from freecycle (freecycle.org).  They had glass in them.  We popped out a piece of trim:
 
Do this from the back of the window.  Be very careful, the glass may break.  Save the trim piece if possible. 
We then sanded and refinished the frame.  You could easily paint it or just leave it antiqued looking.  My husband stapled in a piece of screening from the back and replaced the trim piece.  Basically you are just replacing the glass with screen.  You want a little clearance in the back of the screen to make it easier to hook earrings into it.  We then screwed hooks into the frame on all four sides on the front. 
We put a sturdy picture hanger on the back and hung them up. We left the original latch and hinges, I use them to hang my long necklaces.  I use the top row of hooks for my watches and the bottom row for bracelets.

I love how it looks in the room.  It really helps me to see my jewelry.  I can see all my earrings, bracelets and watches. Nothing gets tangled. Enjoy!
Some other ideas:
http://www.craftbits.com/project/jewelry-organizer-frame
http://www.ehow.com/how_6665998_make-earring-holder-window-screen.html